
Привет-привет=)

Меня зовут Юлия... я создала этот блог, чтобы читать блоги тех мастериц, которых я очень уважаю и люблю, чтобы рассказывать о своих находках и интересных идеях в скрапе.
Надеюсь, мы подружимся=)
четверг, 11 марта 2010 г.
Купончик на скидку...
А вы знаете,что можно получить приятную скидочку в замечательном Питерском магазине Scrapbookshop.ru, рассказав про нее остальным)
понедельник, 8 марта 2010 г.
8 марта=)
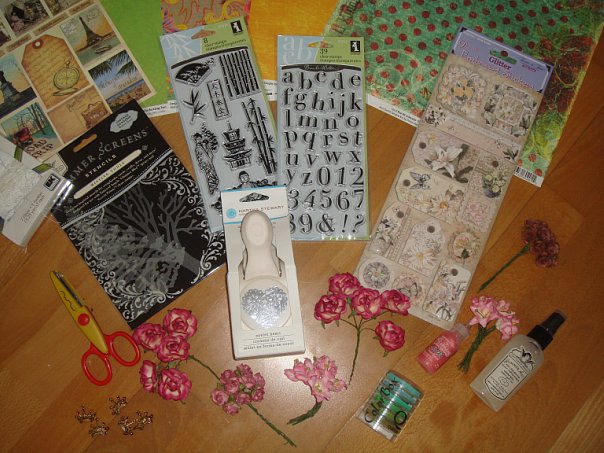
ааа... ко мне идут 3 посылки... жду-не дождусь)))) и скоро приедет Настюшка тоже с подарочками из Питера=))) Быстрее бы уже сесть за работу) А пока остается только наслаждаться работами других мастериц=)!
С праздником Вас всех. дорогие мои=)!

С праздником Вас всех. дорогие мои=)!

среда, 24 февраля 2010 г.

конфетка до 26 февраля!
замечательные коробочки, которые я наконец более-менее научилась красиво делать=)))
Посмотреть можно здесь:

Посмотреть можно здесь:
конфетки
Итак, продолжая тему конфеток:
открылся замечательный Питерский магазин: www.scrapbooksale.ru , который разыгрывает вкуснейшую конфеточку до 28 февраля 2010 года (23:59). Спешите участвовать=)!

И еще одна конфетка от Примы:
(до 19 марта)

открылся замечательный Питерский магазин: www.scrapbooksale.ru , который разыгрывает вкуснейшую конфеточку до 28 февраля 2010 года (23:59). Спешите участвовать=)!
И еще одна конфетка от Примы:
(до 19 марта)
вторник, 16 февраля 2010 г.
Sugar Coated Images
Sugar Coated Images

My favourite way to finish the Image Stamps is to colour them with chalks & finish them with Glamour Dust Glitter. I just love a twinkly, sparkly, sugar-coated little image.
It is very simple to do. It needs very little skill or equipment. And the finished images are always very pretty
You will need
Sakura Quickie Glue pen
Glamour Dust Glitter in Crystal (I buy mine from The Range)
Dusting Brush

... add your Glamour Dust Glitter. And gently tap off the excess.

Work through the image a little at a time, adding adhesive ...

... & Glamour Dust ...

... & tapping off the excess ...

... until you've added glitter to all the areas you want to cover.

Now leave the image to dry. After a couple of hours, the adhesive will have dried enough for you to gently dust the excess glitter from your image without the glue smearing & without losing the glitter you;d like to stay on your image.
And after 24 hours it will all have dried completely, you can give it a final dusting & the glitter will now stay permanently on your image. There is no need to apply a fixative to it.
And that's it! You're done!
This little brush is the brush I use for dusting glitter. It is a simple make-up brush. The brush itself measures around 2" across and it is EXTREMELY soft.
 The bristles don't come loose and there are enough of them to find every last little bit of the loose glitter I need to remove when I am cleaning my image. When I am using glitter, it is my best friend : )


Paper Piecing

Several of you have asked how to do paper piecing with your images. This is how I do it ...

Single Image
1. Print your sheet of images (print in draft printing mode at this stage to get the most out of your ink)
2. Stick your paper over the image you'd like to paper piece, using a temporary spray adhesive & pop it back into your printer.
3. Print your image on top.
This is a great way to use up small scraps of paper.

Sheet of Images
1. Print your paper design & pop it back into your printer.
2. Print your images on the top.
Then, whichever way you've chosen, you just cut around the pieces you want to include on your card and stick them down.
And that's it! I really like paper piecing. I think it's a really simple way to finish images & create with paper.
If you've never done it before, try experimenting
- using paper designs that compliment the rest of your card
- or totally contrast with it
- with different colours & different paper designs on the same image
- if you can cut out neatly, mount the pieces on dimensionals
The results can be absolutely stunning
Подписаться на:
Комментарии (Atom)


.JPG)